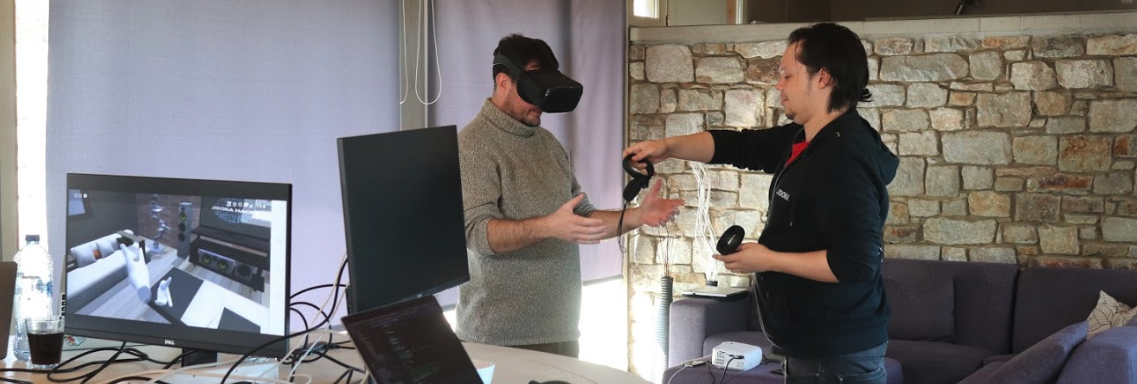
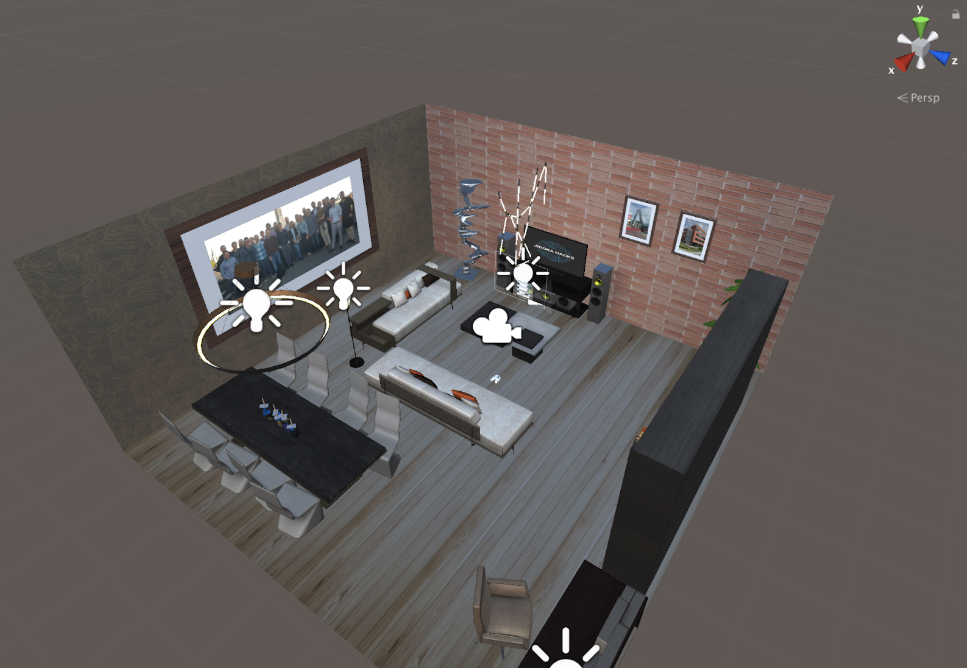
The decision on what project we wanted to do during the JIDOKA Hackathon weekend was not a hard one to make. A long time ago we were asked to give a Knowledge Night about Unity 3D, and we had to dust off our knowledge of Unity. At the time our office was being remodeled, so we thought it would be a great idea to model the company’s office in Mechelen with Unity.
As we finished refreshing our knowledge and had a first-draft of the project, we proudly presented it to our coworkers. As we showed it to our HR manager and CTO, they found it a cool way to present one of our offices on Job fairs, and this is how JDK-Offices was born.
Goals we had set
The first version of JDK-Offices that we made still had some minor bugs and could be a little bit more aesthetically pleasing. So the first goal we had in mind was to finish (re-)modeling our project.
The next step was to implement some user interaction. As before the hackathon the player could only walk around in the virtual office but was unable to interact with the environment. Our initial plan for interaction was to implement some easter eggs, which are not your average chocolate eggs, but unexpected or undocumented features in a piece of computer software, included as a joke or a bonus.
The last thing we wanted to realise was to implement a contact form. So people form the job fair could leave their contact information if they wanted to.
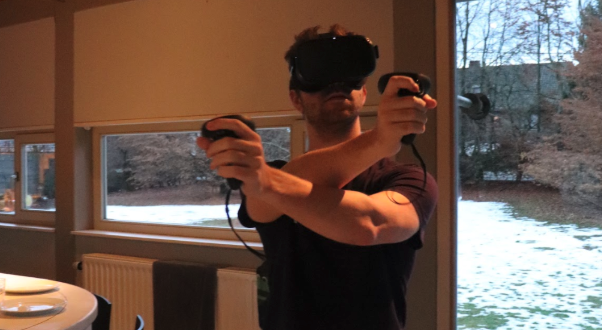
However when the hackathon started our CTO surprised us with a Oculus Quest VR headset, and because our priorities changed a bit. First of all we had to focus on ‘deploying’ the current version of the project to our new Oculus Quest correctly. Secondly it would be a waste not to utilise the functions of a VR headset like the controllers for example. Once these two concepts were realised we could continue on our original track.
Setting up the project
With the hackathon starting signal behind us and our new toys in front of us, we ambitiously started investigating on how we could use the Oculus quest within Unity 3D.
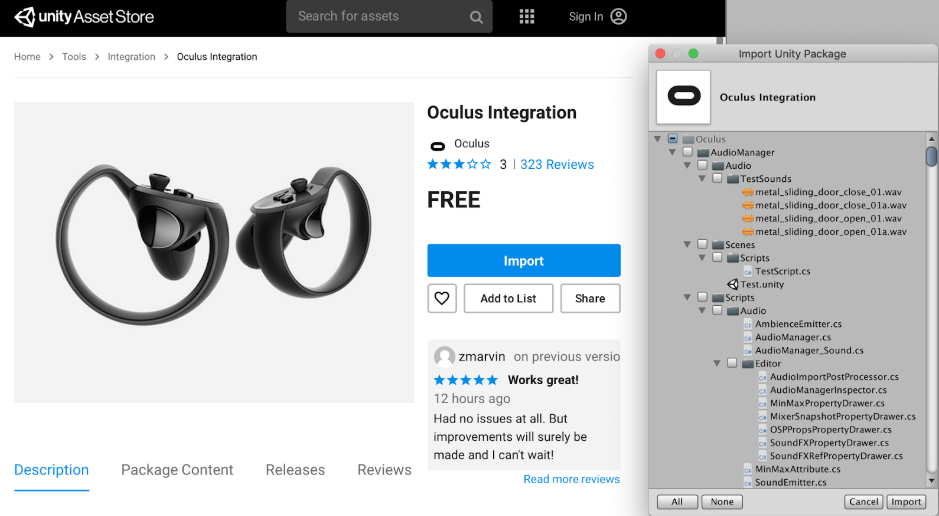
As we had never worked with the Oculus Quest, the first thing we had to do was investigate how to set up a Unity project with this device. We quickly learned that Unity had out-of-the-box support on their latest version and after dealing with some minor technical issues installing this latest version, we found a lot of interesting assets that came with the Oculus Quest integration assets. This included the much needed scripts for the basic usage of the device, like grabbing objects.
Our existing project was not designed to be used with the Oculus quest, but it didn’t seem like a lot of work to do so. Because you can easily build a Unity project to different platforms using the build tool. However due to some technical issues we had to copy our existing project to a fresh project and build it from there.
Even though we did not get as far as we wanted, getting the existing project running on the Oculus quest was our first goal, which was already a big victory.
Making progress
Since on a hackathon you only have limited time, we wanted to speed up the development process as much as we could and chose to split up the work. One developer focusing on modeling a landing room with a menu where you could choose which office you would visit. While the other developer was focusing on utilising the Oculus Quest as much as possible and create the interaction with other objects in the Mechelen office.
As we wanted to get as much feedback as possible, the first thing we did each time we got something new working was to let some colleagues test the feature. However, some colleagues were experiencing motion sickness when moving the player model around in the environment. This is something we wanted to resolve as soon as possible, because it made the project less usable for job fairs.
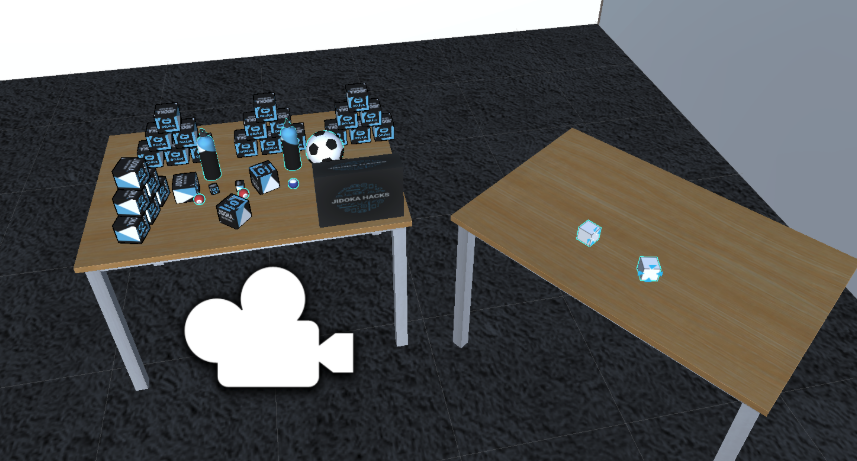
We did some research on how to resolve this issue, and one of the solutions was to teleport the player model instead of moving it with the controller. In order to do this the developer focusing on the interaction followed some tutorials. While trying to implement this, we found out that it was not as easy as the tutorial made out to be. We did not get it to fully function, and as we figured that it would take up too much time to make it work we had to make the decision of focusing more on the interactions with the game objects.
At the end of the day we added the landing room to the project with the interactions and we got a working prototype that could walk with the joystick, grab and throw objects and enter the office. Very decent work for the second day, which made us quite proud.
For every hackathon you usually have to do a pitch of your project. As we spend most of our time developing, we used the remainder of our time to prepare for the pitch.
Conclusion and lessons learned
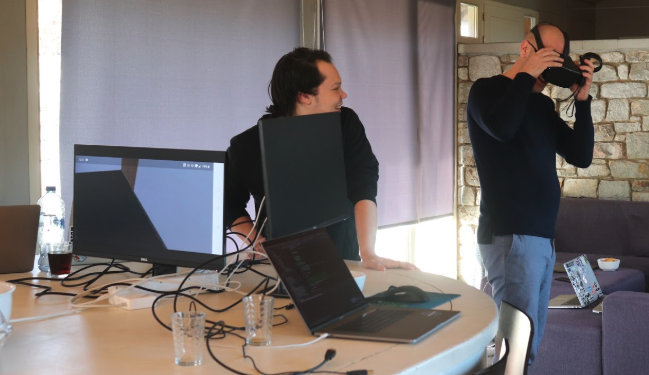
What we ended up learning from this hackathon is that things might not go as planned which is something that you can’t control. However, even with all the setbacks we still ended up with something presentable and had a lot of laughs with the Oculus and seeing the reaction of people was quite amazing.
